


Set Up to Fit Your Needs
One unit is all you need to test a full team. The workflow below works just fine with a single device. That said, every additional unit you add as a separate station cuts down wait time and keeps more athletes moving at once. More units make it easier. One unit gets the job done.
Before You Start: A Few Setup Decisions
What metric are you testing? OVR Jump measures vertical jump height in Regular mode, reactive strength index (RSI) in RSI mode, and ground contact time (GCT) in GCT mode. Whether you're measuring approach or standing verts, a 4 jump RSI test, or GCT with hurdle hops, decide which metric you want before the session and set all units to the same mode. The cleaner your protocol, the faster testing goes.
Who's running each station? Designate one athlete or assistant at each station to manage the device, call out numbers, and keep the line moving. This frees you up to float between stations and watch for technique issues.
Testing With One Unit (Up to 10 Athletes)
One OVR Jump unit moves through a group of up to 10 athletes smoothly. That's the sweet spot for keeping flow tight and wait time low. Remember, this is a recommended device to athlete ratio. If your situation doesn't allow for that, do what you can while utilizing the same principles.
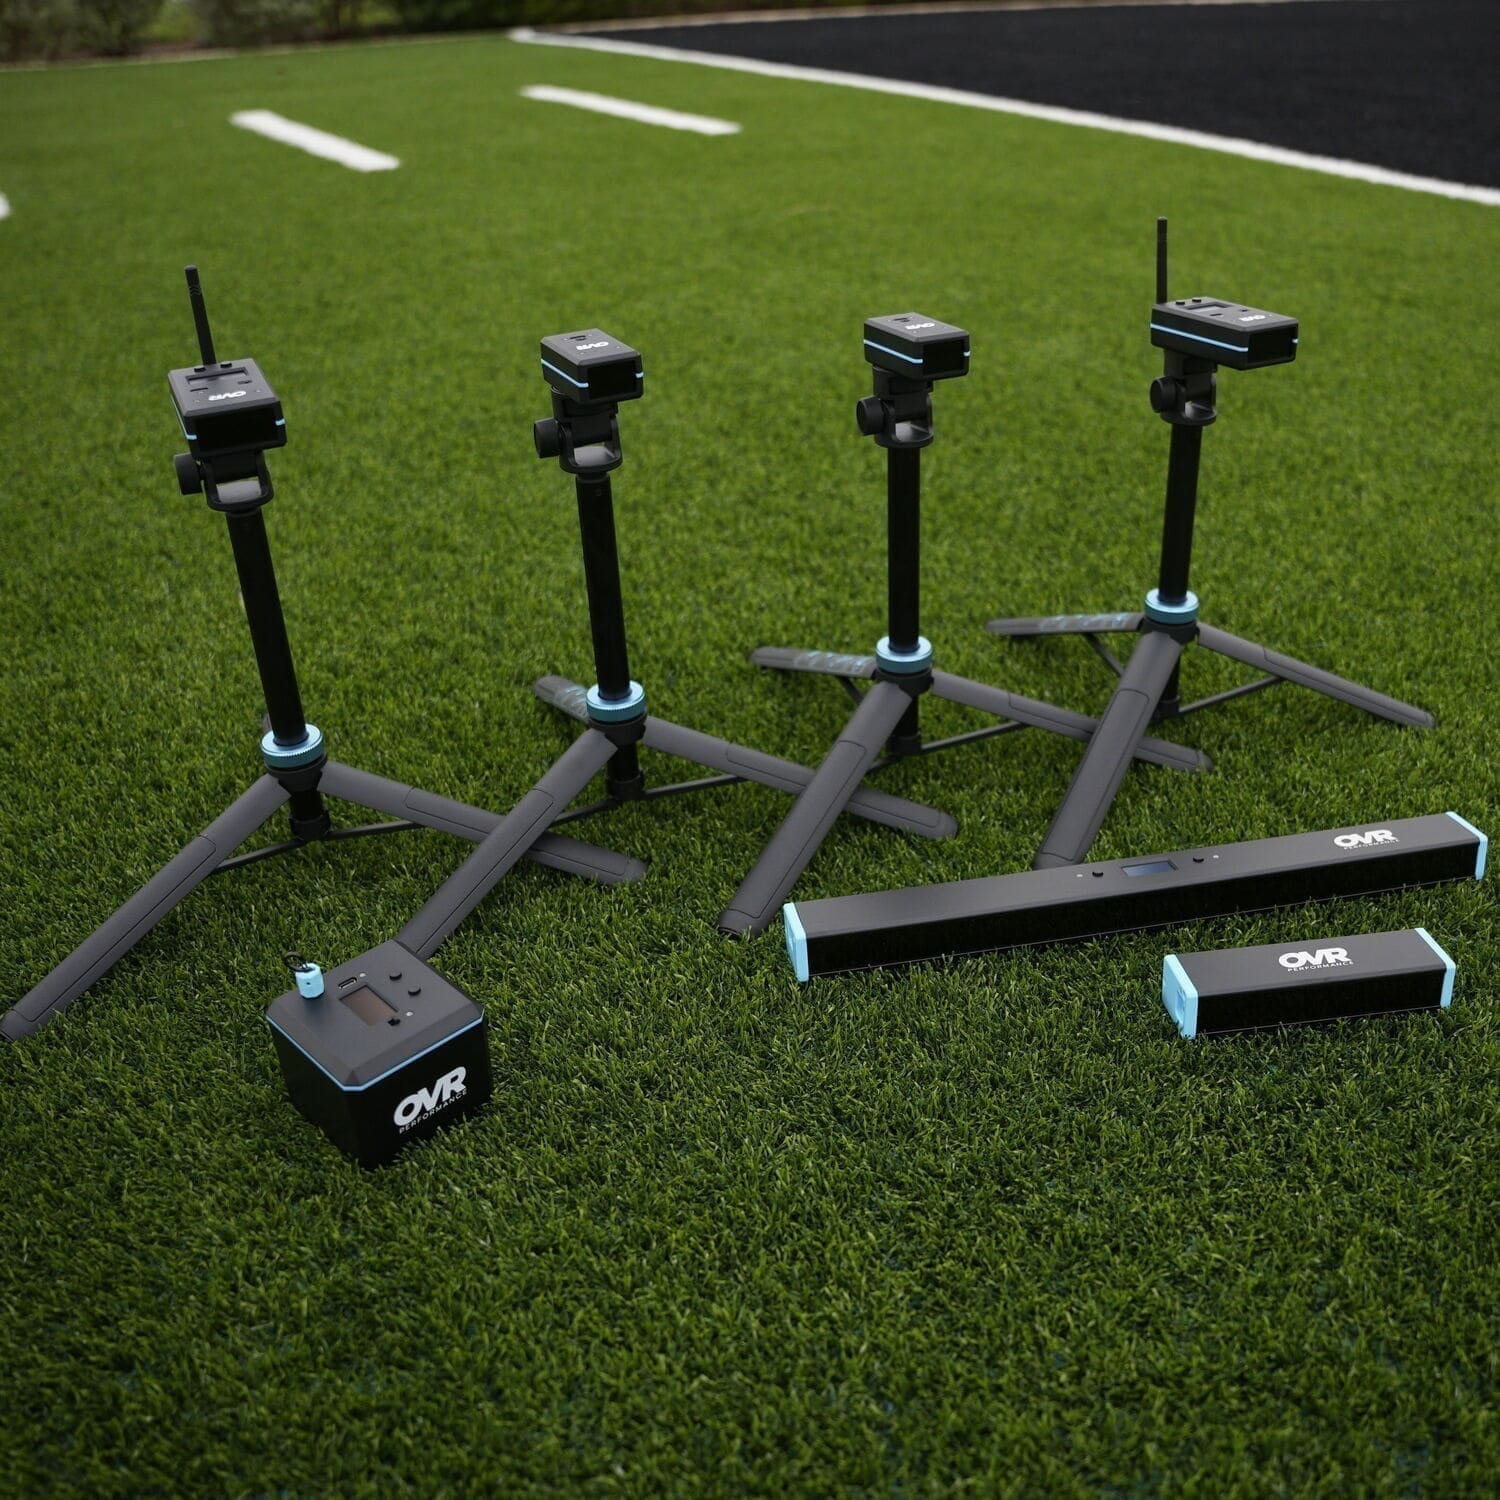
The setup: Place the sender and receiver at least five feet apart on the ground, facing each other. The status LEDs on the receiver turn green when the lasers are connected. That's your ready signal. No calibration, no app, no extra steps.
The workflow:
Organize athletes into a single line. While one athlete jumps, the next athlete is in line, practicing their technique or simply getting loose. The moment a jump registers on the display, you call the number and send the next athlete in.
A few things that help the line move:
One warm-up jump, then one to three recorded jumps per athlete is plenty. One jump per turn moves the line faster; two to three gives every athlete a fair shot at their best score. Pick one approach and stick with it across the board so no one feels shortchanged.
Give athletes a clear takeoff mark so no one spends time finding their spot. Tape on the floor or a step back from the unit (if you're doing a max or approach vertical) works fine.
Use the left and right buttons to scroll through previous jumps if you need to look back at a reading.
Realistic throughput: At roughly 10 seconds per jump, one unit moves through up to 10 athletes in minutes.
Testing With Two Units (Up to 20 Athletes)
Two units roughly cut your testing time in half. Split athletes into two groups of up to 10 and run both stations simultaneously. Same clean flow, twice as many athletes moving at once.
Set up both units at the same time before athletes arrive. The five minutes you spend on setup saves fifteen minutes of waiting later. Make sure both units are on the same mode and display settings match so your results are consistent across groups.
Assign groups before athletes ever get to the floor. When one athlete finishes, they move to a designated area to record their number or report to the coach, and the next athlete steps in.
If you have a coach or assistant available, put one at each station. If it's just you, set up the two stations close enough together that you can float between them and keep an eye on both.
On accuracy: OVR Jump samples 1,000 times per second. The readings are consistent across both units, so splitting athletes between two devices doesn't create a comparison problem.
Realistic throughput: At roughly 10 seconds per jump, two units move through up to 20 athletes in minutes.
Testing With Three Units (Up to 30 Athletes)
For larger groups, the same station model scales. Three units, three groups of up to 10, all moving in parallel.
Organizing a large group: Break athletes into pods of up to 10. Each pod has a station. Within each pod, athletes rotate through on a simple count, and the athlete at the device calls out the number to a designated recorder. You stay mobile.
Realistic throughput: At roughly 10 seconds per jump, three units move through up to 30 athletes in minutes.
Testing With Four or More Units (30+ Athletes)
For very large squads, the same pod system scales as far as you need it to. Each unit gets its own group of up to 10, its own recorder, and its own rotation. The more self-managing you make each pod before testing starts, the smoother the whole session runs.
Realistic throughput: With four or five units, moving 40 to 50 athletes through is very achievable in minimal time. One coach reported doing exactly that within a single class period with stations pre-organized and athletes knowing the rotation before testing began.
A Note on Tether Mode
If beam width becomes an issue at any group size, tether mode is worth knowing about. OVR Jump lets you connect up to five receiver units side by side to create a wider laser barrier. This is about beam width, not athlete count. It's useful when athletes with varied jumping styles or wider stances sometimes miss the beam. Tether mode runs from a single sender and a single Home unit, so the setup stays simple.
Tether is most useful when athletes are landing unpredictably outside a single unit's beam width, or when you want a larger target zone for younger athletes. For most high school and college athletes jumping with normal mechanics, a single unit is precise enough.
Recommended Stance
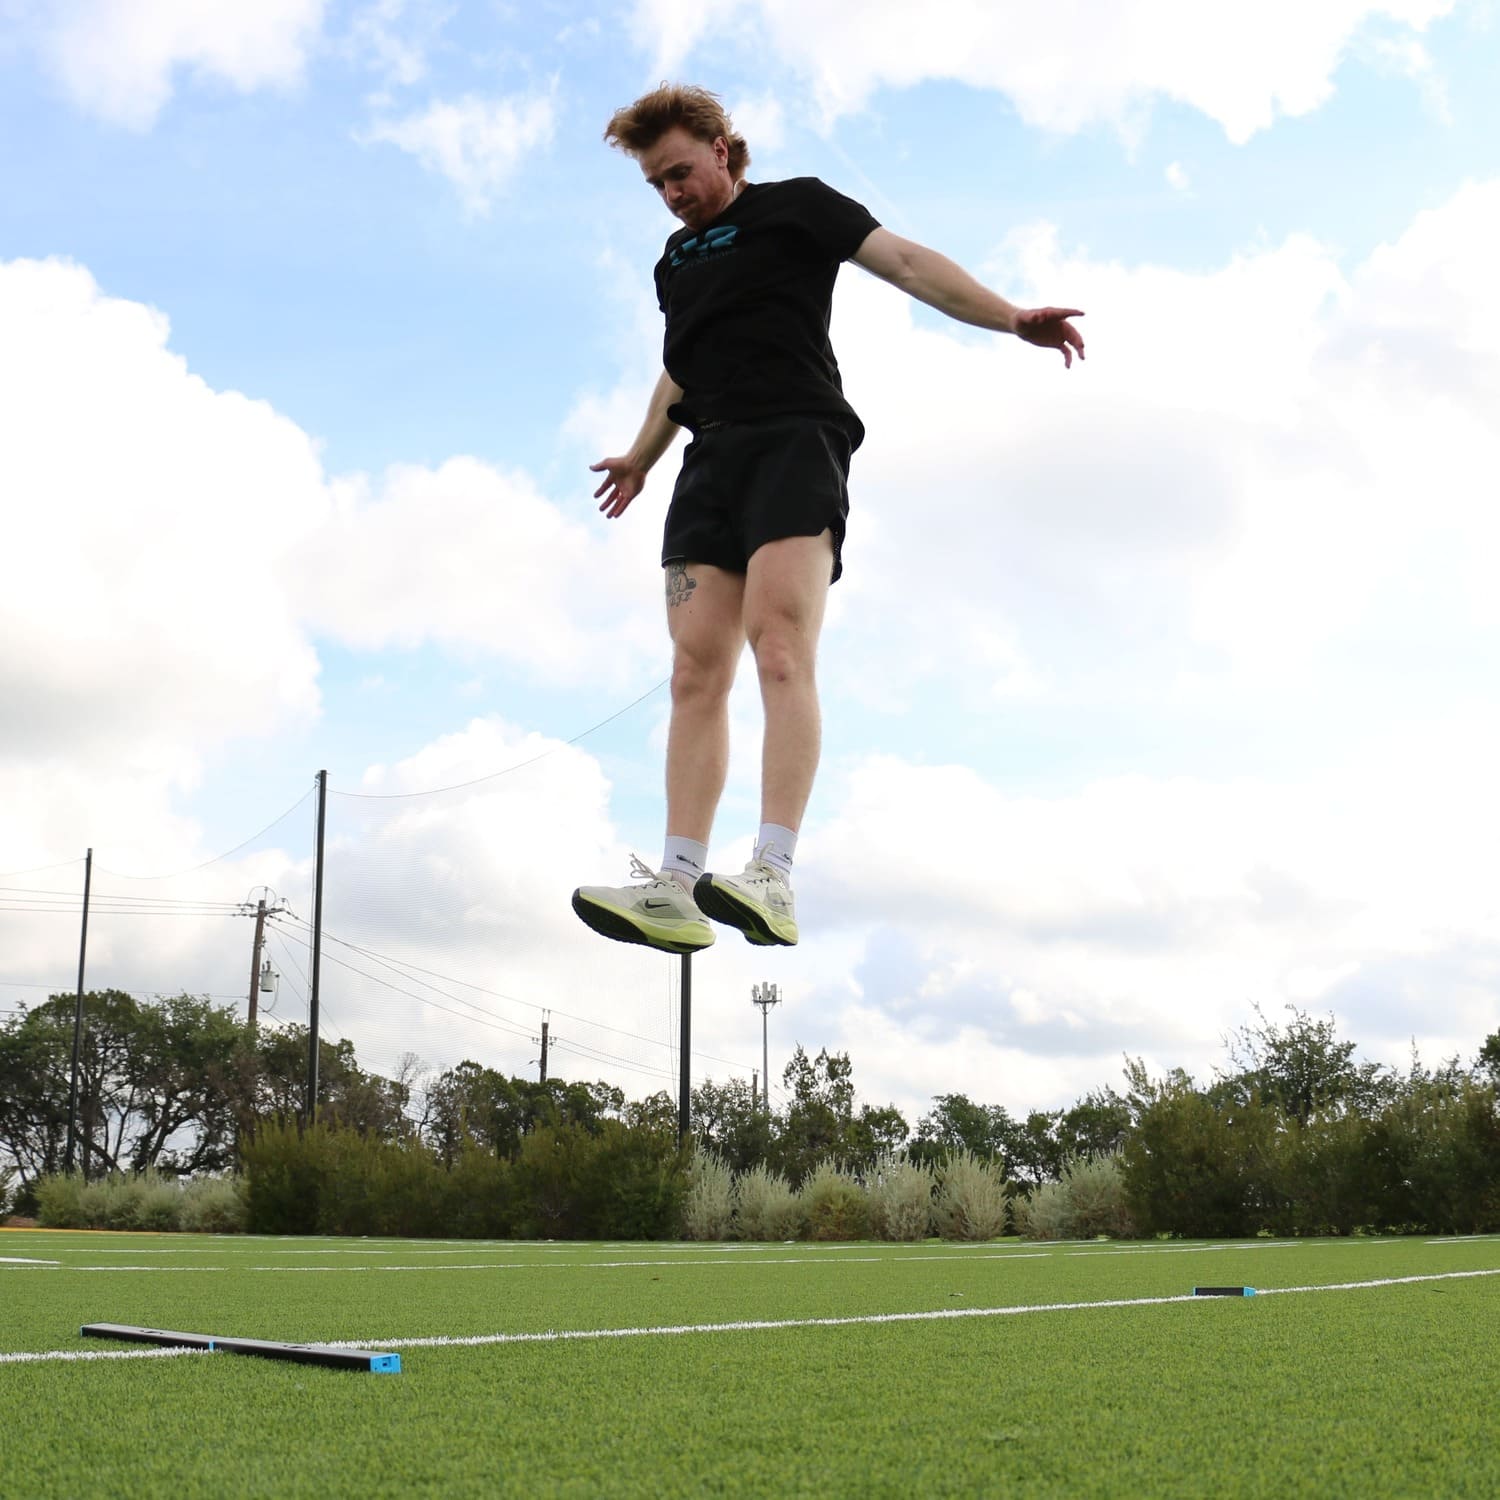
One thing that trips up a lot of first-time users: the recommended stance for OVR Jump is a forward offset stance, with one foot directly in the laser path. A wide, centered stance sometimes misses the beam entirely on landing. Tell athletes this before they step up and you'll avoid re-jumps from missed reads.
Recording Results
OVR Jump stores up to 100 jumps onboard. For smaller groups, you can pull results directly from the device after the session. For larger groups, connecting to OVR Connect gives you live readings, historical tracking, and easy export.
That said, many coaches run large-group testing with a simple clipboard or a shared note on a phone. One athlete calls the number, another writes it down. It's low-tech, but it keeps the line moving without anyone waiting on a connected device.
A Note on What Makes Testing Stick
Jump testing works best when athletes see their number in real time and have something to chase. The OVR Jump display is visible immediately after each jump. That instant feedback is what turns a test into a training moment. Athletes want to go again. That's the whole idea.
Some coaches run a quick informal leaderboard by position group or sport during testing days. Others post results and let athletes compare against previous testing cycles. Have some vertical jump benchmarks readily available and they can see the bigger picture as well. Either way, the number on the screen is doing motivational work that would otherwise fall on you.
Quick Reference by Group Size
1 to 10 athletes: One unit. Single line. Tight rotation. At roughly 10 seconds per jump, you're done in minutes.
Up to 20 athletes: Two units. Two parallel groups. Assign a recorder to each station. Same speed, twice the athletes.
Up to 30 athletes: Three units. Three parallel groups of up to 10. Same pod system, same pace.
30+ athletes: Four or more units. Pod system with a recorder at each. Designate group leads to keep pods self-managing while you float.
There's no single perfect protocol for every situation, and that's fine. Whether you're working with five athletes or a hundred, the goal is the same: testing gets done efficiently and athletes leave knowing their number. The best testing protocol is the one you actually run. Keep it simple, keep it consistent, and let the numbers do the rest.

Leave a comment
This site is protected by hCaptcha and the hCaptcha Privacy Policy and Terms of Service apply.