




You have seen the testing videos on Instagram. An athlete steps onto a small platform, jumps, and a screen fills with numbers, charts, and color-coded asymmetry bars. You are trying to figure out what a force plate actually does, and whether force plates belong in your gym, or if the same money is better spent somewhere else.
A force plate gives you a read on jump strategy, asymmetry, and true max strength, the full picture of how an athlete produces force and not just the outcome of a jump. It pays off most for coaches who already have a testing rhythm and a clear list of decisions they want the data to inform. If you are still building that rhythm, this guide will show you how to get there, because the habit is what turns the numbers into better decisions.
Do you actually need a force plate?
A force plate pays off when you can say yes to three things.
- You already test consistently. Even if that something is a reach-height tester and a stopwatch, you have a testing habit you can build on.
- You can run the same protocol, with the same cues, for a full season. Protocol drift kills longitudinal data, so consistency matters more than the test you pick.
- You have named three to five decisions the data will inform. Return to play criteria, in-season readiness flags, programming shifts between strength and power blocks, position-group profiling, season-over-season tracking. Pick the decisions you will actually make from a number.
If you cannot finish the sentence "when this number drops by X, I will," you are not ready to invest. The plate does not fix programming. It sharpens decisions a coach is already making.
The other side of that decision matters too. If you have never built a testing protocol, start small and run it consistently for a season. If your roster is small enough that you already know each athlete's bad day from a quick conversation, the plate is not the upgrade you need next. If your weeks are already buried and no one will sit down to look at the data, then hold off. There is no shame in any of those answers. The wrong tool used inconsistently is worse than the right tool used twice a year.
What a force plate shows you
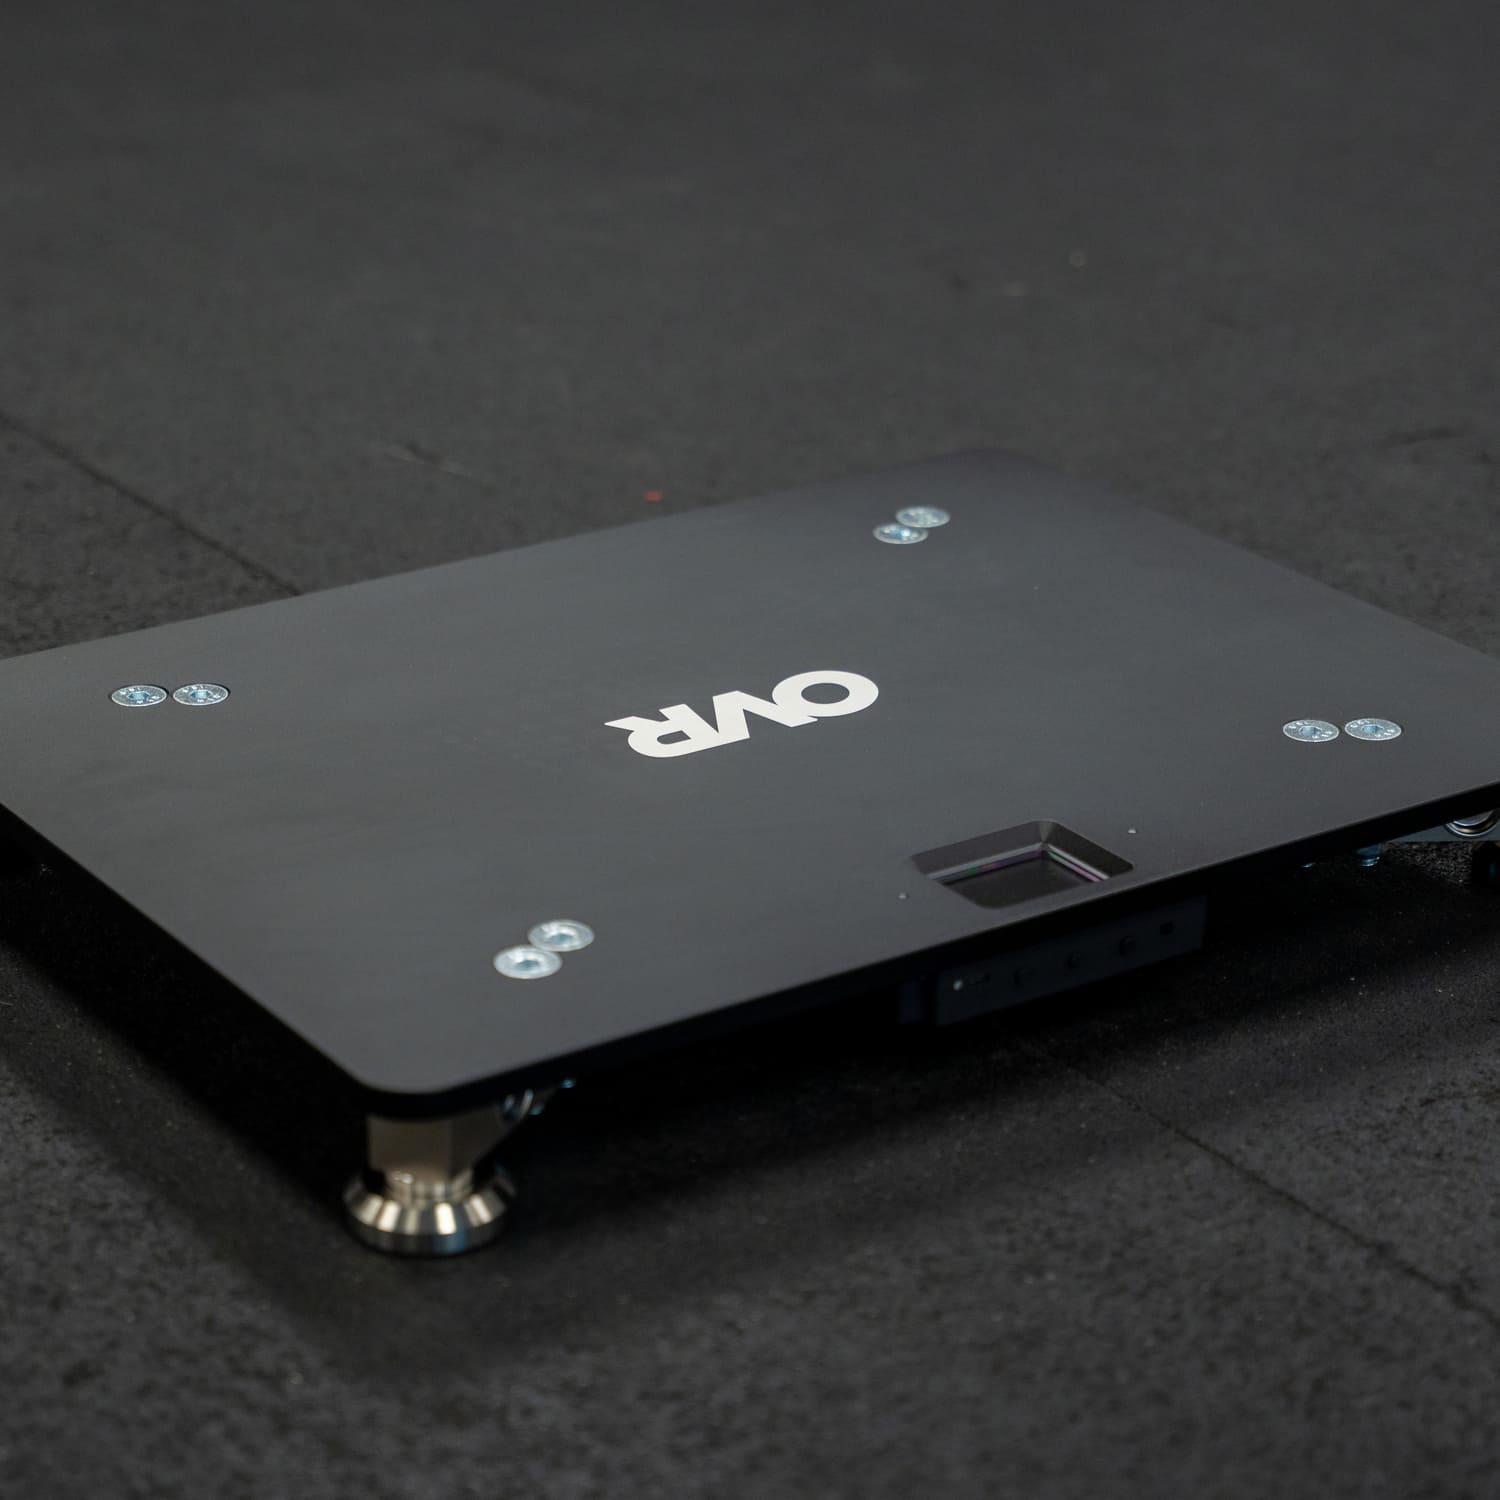
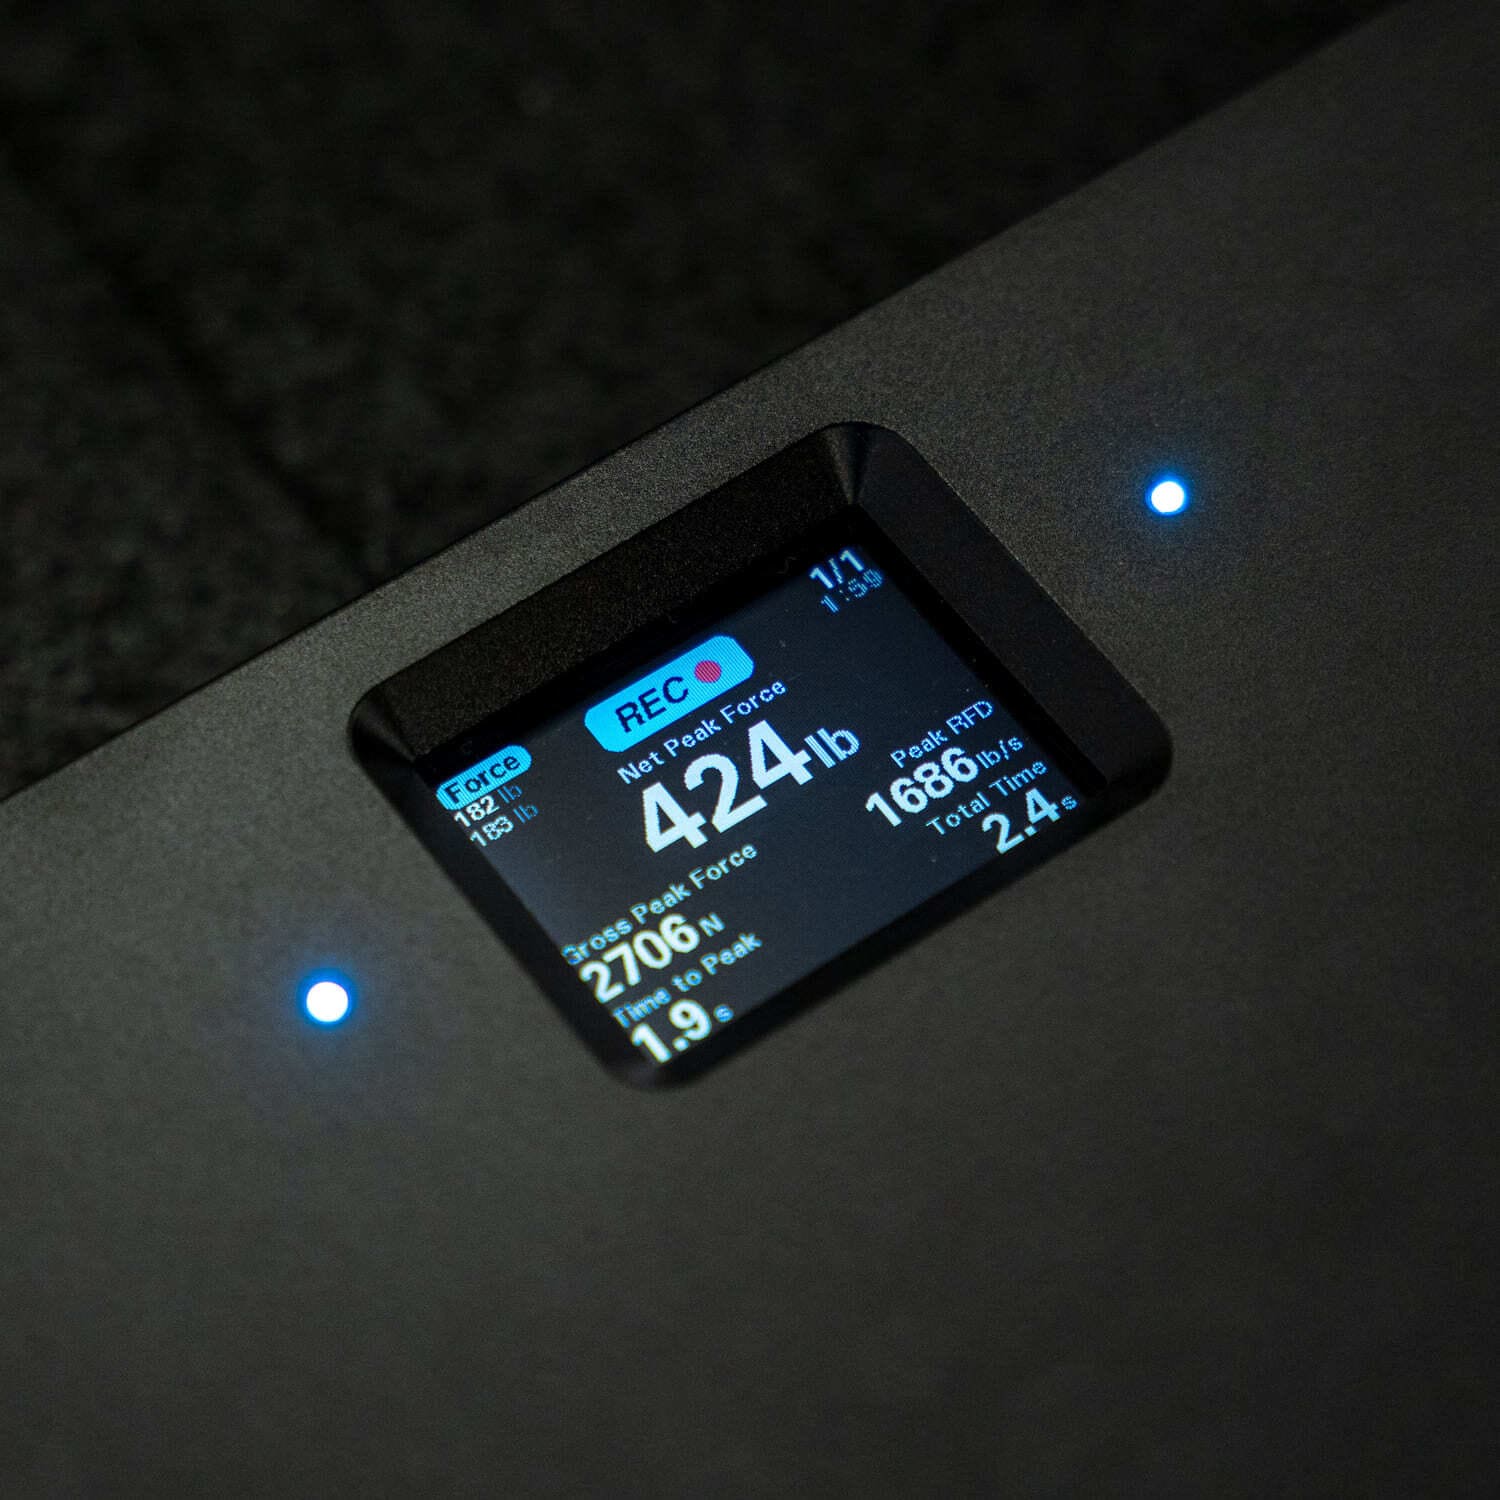
A force plate is a sensing platform that measures the force you put into the ground, a thousand times per second. Coach-grade portables typically sample at 1000 Hz, which is what you want to measure rate of force development accurately. Below 500 Hz, the plate takes too few samples to track how fast force is rising, and those numbers stop being reliable. All of those samples build into a force-time curve, not a single number, and the full curve is where the useful detail lives.
Picture two athletes. Same age, same sport, same 24-inch CMJ. A jump mat reads them as the same number. It starts a clock when their feet leave it, stops when they land, and back-calculates height from flight time, which gives you a clean result for the jump.
Now put them on a plate. Athlete A drops into a deep, slow countermovement and builds force gradually through a long propulsive phase. Athlete B dips shallow, snaps back fast, and produces less peak force but a much sharper rate of force development. Same jump height, two different athletes, two different programming responses.
The height number comes from that same curve. The plate integrates the force to find takeoff velocity, the impulse-momentum method, so it comes straight from the force the athlete put into the ground. That keeps the number steady from session to session and your tracking clean. The same curve also gives you power directly, force times velocity, which you only get by measuring the force itself.
A dual force plate also reads asymmetry. A bilateral CMJ can look symmetrical to the eye even when one leg is doing a lot of the work, and the plate splits the force coming through each leg during a normal jump, no special test required. For a coach managing return to play or wrapping up a long season, that data changes what you program next.
The third piece is max strength without a 1RM. Isometric mid-thigh pull is exactly what it sounds like: the athlete stands on the plate gripping a fixed bar set at mid-thigh height, knees bent and torso upright in a strong pulling position, and pulls up against the immovable bar as hard as possible for a few seconds. The plate reads peak force during the pull. That setup lets a younger or mixed-experience athlete express true max strength without loading a deadlift to true failure. Published work puts the IMTP-deadlift correlation around 0.88, with a lower injury risk profile (no eccentric phase, fixed bar position, no bar drop) than ramping high school athletes to true 1RMs.
Start with three numbers, then grow into the rest
A single countermovement jump can produce dozens of metrics, from jump height down to the rate an athlete built force during the braking phase. That sounds like a problem until you see how good software sorts them.
Most systems split a test's output into a primary set, the handful of numbers that carry the most signal, and a deeper library you open only when you have a specific question. OVR Force, for example, surfaces about ten headline metrics for a jump and four for an isometric pull, with the rest a tap away. The first round of triage is already done for you. You are not meant to read all of them, and you do not need the full primary set on day one either.
So start with three reads, one for each question you are actually asking in the first month. All three work on a single plate, so this is the full starter set whether you run one plate or two.
How high did they jump? Jump height. This is your universal entry point. Nearly every sport tests it in some form, and you already have benchmarks in your head from years of coaching. Published norms for a hands-on-hips force-plate CMJ put the typical high school male athlete around 14 to 18 inches (35 to 45 cm), with strong varsity jumpers clearing 20 inches (50 cm) and elite jump-sport athletes reaching 22 to 26 inches (55 to 65 cm). High school females typically sit around 9 to 13 inches (22 to 32 cm), with elite athletes clearing 15 inches (37 cm) and the best jump-sport athletes reaching the high teens. College and pro team-sport athletes overlap that typical range more than coaches expect; the real separation shows up at the elite end and in jump-dominant sports, not across the board.
How did they get there? mRSI. Two athletes can post the same jump height and be completely different athletes, which is the whole reason you put athletes on a plate. Modified reactive strength index, or mRSI, is jump height divided by time to takeoff and is a reliable measure of how efficiently the athlete produced that jump. A high mRSI means a lot of output from a short, tight countermovement. The same height with a low mRSI means the athlete needed a long, slow dip to get there, which changes their programming. mRSI also drops before jump height does when an athlete is fatigued, so it doubles as an early readiness flag.
How strong are they? IMTP Relative Peak Force. The isometric mid-thigh pull reads max strength as a multiple of bodyweight, net of standing weight, so athletes of different sizes compare on one scale. Published norms put NCAA Division I males between 2.0 and 2.8 times bodyweight, with elite athletes above 3.4, and NCAA females between 1.7 and 2.4. Strength is the base under everything else. Compared against the jump, it tells you whether power or strength is the limiter, and which one to train next.
Think of these three as the start, not the end goal. Once they are part of your weekly rhythm, the rest of the primary set starts earning attention. Time to takeoff and braking RFD sharpen your understanding of jump strategy and flag fatigue earlier. Propulsive impulse is the mechanical driver behind the height, and relative propulsive power in watts per kilogram is your cleanest read on power adaptation across a training block. In return-to-play scenarios, relative peak landing force shows how much load an athlete absorbs at touchdown. On a dual plate, asymmetry catches a developing bilateral deficit earliest. Each one answers a sharper question than the last. The point of starting with three is not that the rest do not matter. It is that one number you act on beats five you glance at and forget.
What testing day actually looks like
The workflow question is usually what kills force plate adoption, not the price.
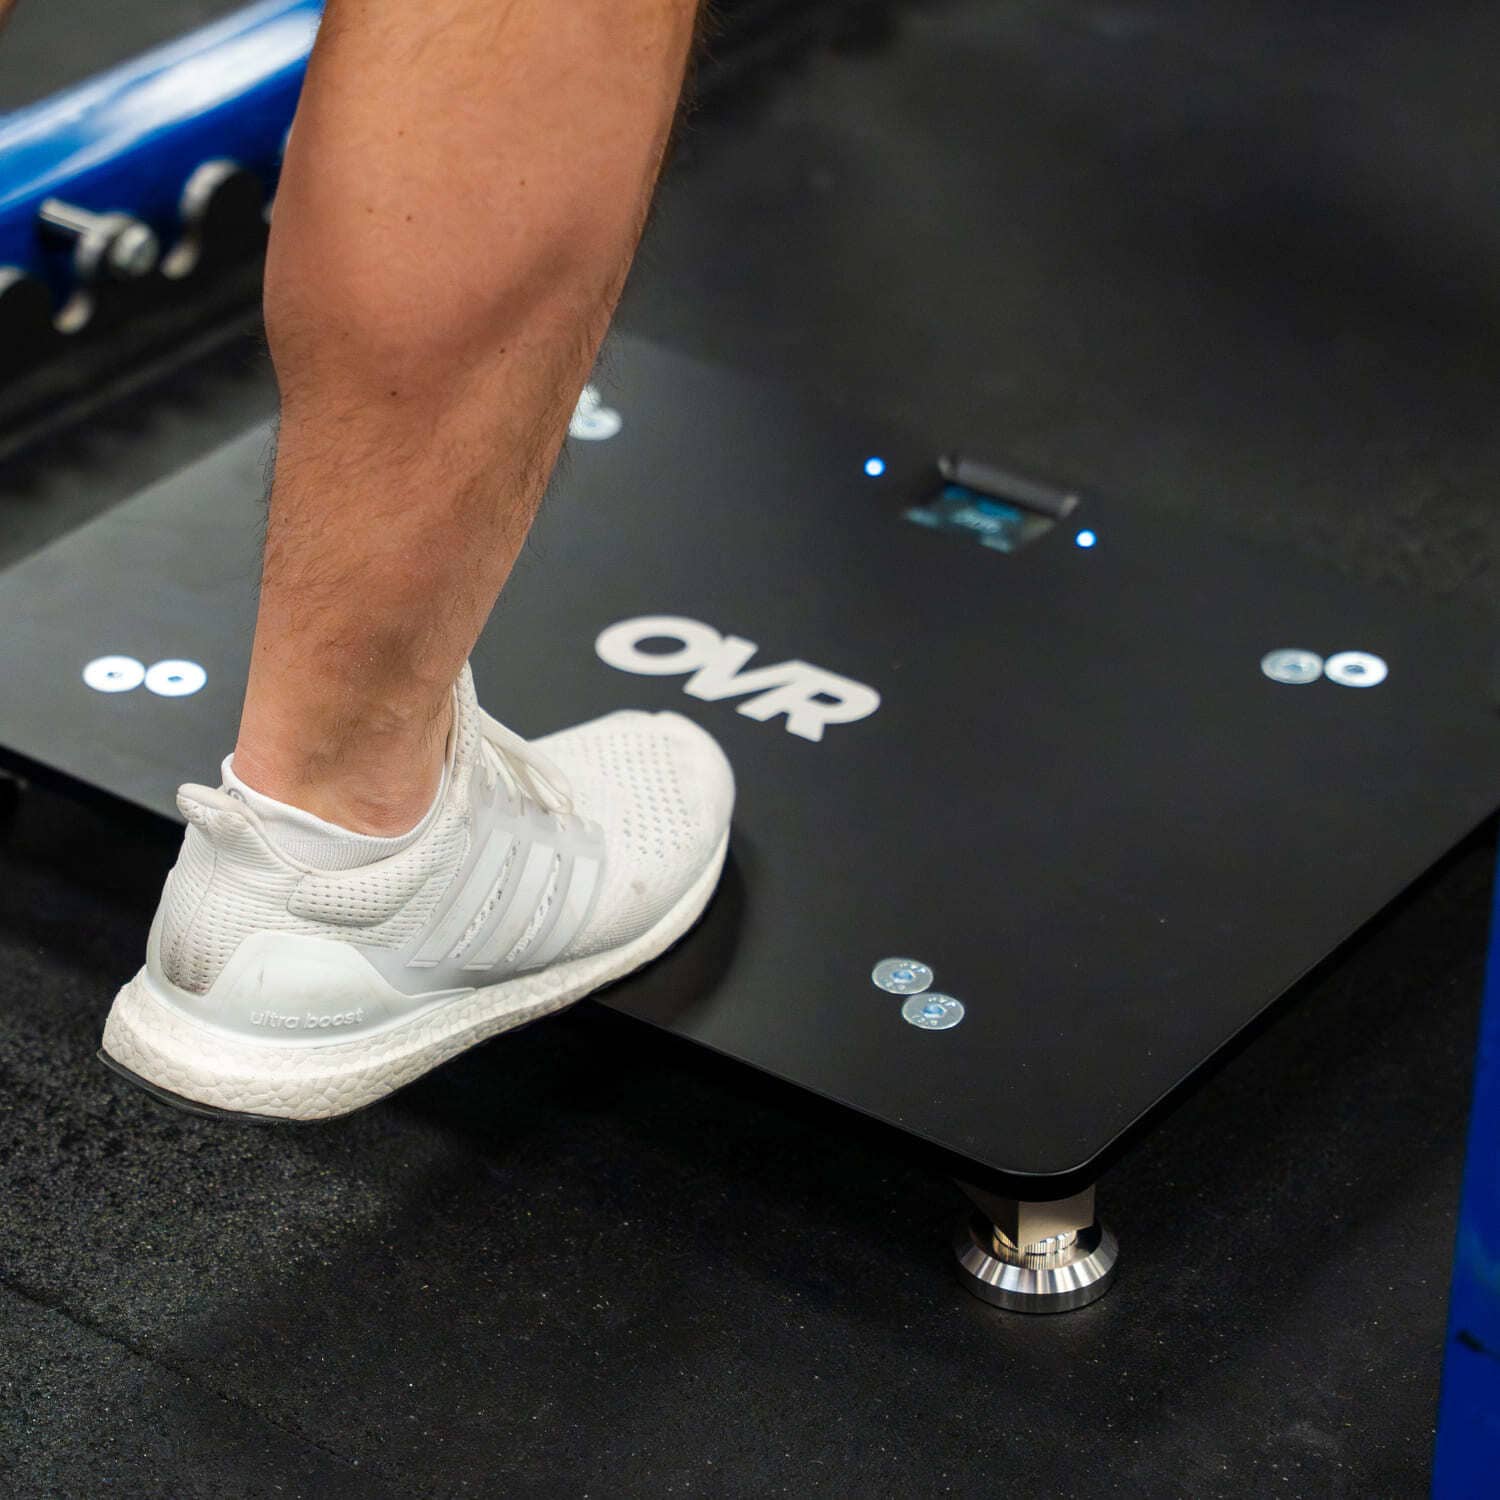
What makes testing stick is speed. Once athletes know the protocol, a single CMJ takes only seconds, so a full group moves through quickly instead of eating a training session. Let the per-athlete time drag and testing quietly falls off the calendar. Keep it quick and it becomes routine.
The other lever is embedding testing inside the warm-up on a fixed day. Not a separate testing day that competes with lifting. Athletes hit their CMJs as part of the dynamic warm-up, the leaderboard updates live, and the session moves on. Keep the warm-up consistent across testing days, or the day-to-day comparison breaks down. Before long, athletes can self-administer with a coach watching from across the room. Coaches reviewing data the next morning is normal, not a workflow failure.
The leaderboard piece is more important than it sounds. Athletes chase the number. Quiet kids who rarely lifted with intent will fight for another inch when a screen shows their name. That competitive pull is the gamification effect at work, and it raises how hard athletes train every session.
Full battery testing, where CMJ pairs with IMTP and possibly squat jump and drop jump, lives every four to six weeks at the block transition. Weekly testing stays light, usually just a CMJ for readiness. If you are running a multi-tool program, combining jump, sprint, and strength data is where the plate's reads become a full athletic profile rather than a standalone number. That cadence keeps the data dense enough to spot trends and light enough to actually happen.
Where simpler tools still win
A jump mat costs a tenth of what a plate does and gets you jump height that is good enough for most decisions a high school coach makes day to day. A wall-mounted reach tester measures reach height with zero learning curve. Neither tool depends on software updates, app pairings, or charging. For a coach building a testing habit for the first time, both are legitimate. The story changes when the questions get harder, asymmetry enters the picture, or return to play criteria need real strength data.
The plate also has limits worth saying out loud. A single vertical force channel does not see hip mechanics, knee tracking, or landing form in space. It does not tell you whether the athlete jumped at 100 percent or saved a little. It does not catch compensation patterns the way a trained eye does. The coach is still the coach. The plate is a sharper read on a few specific questions, not a replacement for how you watch movement.
Where the plate fits in a coaching system
A force plate earns its place in a gym when a coach already knows what they want to do with the data. The hardware is the easy part. The harder part is building the testing rhythm, the protocol, and the decision rules that turn numbers into programming changes.
If you already test regularly, have a consistent protocol, and can name the calls the data will inform, the plate is a real upgrade. The data you get on jump strategy, asymmetry, and max strength are hard to find anywhere else at this price point. If you are ready, write down the three to five decisions the data will inform before you ever talk to a vendor. That short document is what makes a demo conversation useful instead of a feature dump. If you are not there yet, start by building the habit. OVR Jump tracks jump height in seconds, an easy way to get a testing rhythm going, with the force plate as the next step when you need force, asymmetry, and strength.
Either way, the next move is concrete. Pick a CMJ protocol you can run quickly. Run it weekly for a month. Look at the four-week trend before you look at any single number. That habit is what makes a force plate the obvious next upgrade when the time comes. The plate sharpens decisions you are already making well and only adds weight to your intuition.
Sources
- Comfort P, Dos'Santos T, Beckham GK et al. 2019. Standardization for IMTP. Strength and Conditioning Journal 41(2):57-79.
- Kirby TJ, McBride JM et al. 2011. Relative Net Vertical Impulse Determines Jumping Performance. Journal of Applied Biomechanics 27:207-214: https://pubmed.ncbi.nlm.nih.gov/21844609/
- Sheppard JM, Chapman D, Taylor KL. 2011. An evaluation of a strength qualities assessment method for the lower body. Journal of Australian Strength and Conditioning 19:4-10.
- Bishop C et al. 2021. Asymmetry calculation methods and thresholds: https://pmc.ncbi.nlm.nih.gov/articles/PMC8488821/
- Merrigan JJ et al. 2020. Identifying Reliable and Relatable Force-Time Metrics in Athletes. Sports 9(1):4: https://pmc.ncbi.nlm.nih.gov/articles/PMC7779934/
- Kyritsis P et al. 2016. ACL graft rupture and RTP criteria. British Journal of Sports Medicine 50(15):946-951.
- Heishman AD et al. CMJ Normative Reference Values for NCAA DI Men's Basketball.
- Pichardo M et al. Lower Body Power Characteristics in Collegiate Athletes.

Leave a comment
This site is protected by hCaptcha and the hCaptcha Privacy Policy and Terms of Service apply.